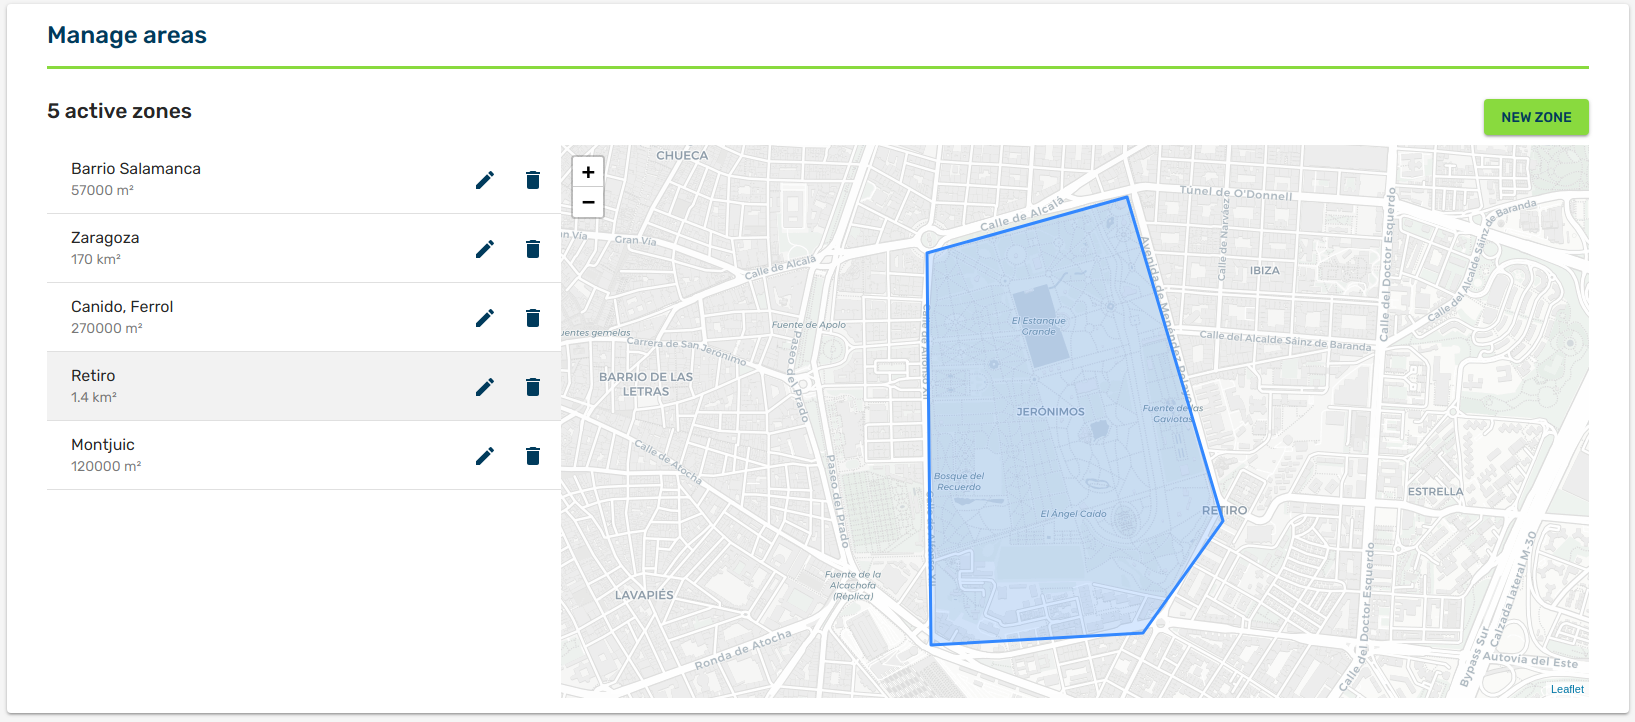
Manage areas
send by region, country or area
Warning: to capture the location of a user, he must grant access permission to the app / web and also has to enable the mobile location services.
Send campaigns that only impact users who are located within a certain area
You can manage your areas from the indigitall console, selecting from the left menu:
In this screen you can create and delete the areas of any of your projects.
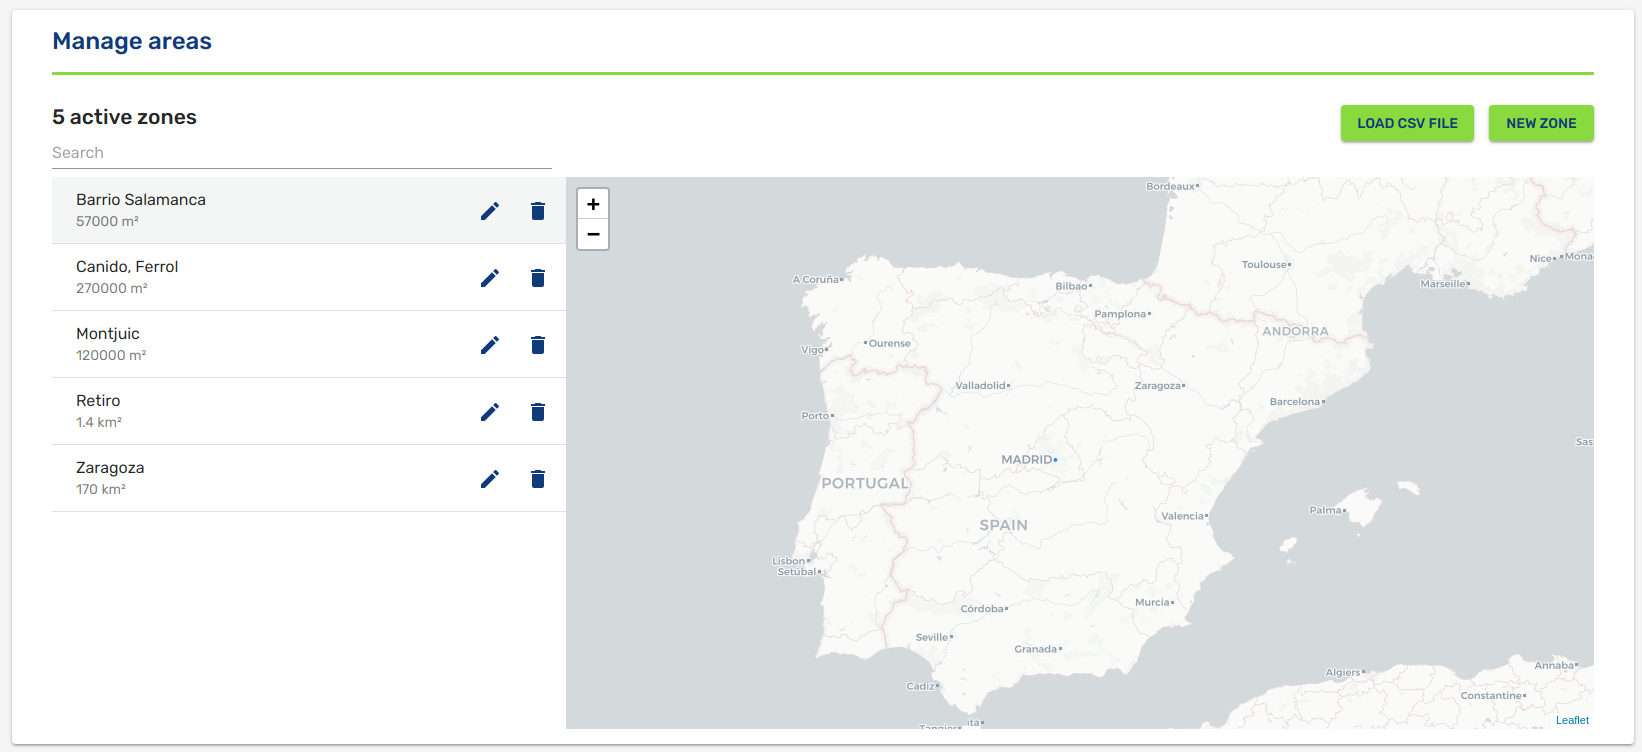
There are two ways to create your list of areas:
- Drawing them on the map
- Loading a file with the list of areas
We show it to you in this video-tutorial:
To load a file that contains the information of all the areas, click on Load CSV . The file format must be CSV, with the header: name, geom, tags.
The geom column will be the coordinates of each of the vertices that make up the polygon.
Example:
name, geom, tags
"Algete",-1.723579 3.723579|-2.476532 6.476532|-2.789804 6.789804|-2.916212 6.916212,"Village, Madrid"
"Alcobendas",-1.723579 3.723579|-2.476532 6.476532|-2.789804 6.789804|-2.916212 6.916212,"Town, Madrid"
"Alzira",-1.723579 3.723579|-2.476532 6.476532|-2.789804 6.789804|-2.916212 6.916212,"Town, Valencia"
"Silla",-1.723579 3.723579|-2.476532 6.476532|-2.789804 6.789804|-2.916212 6.916212,"Village, Valencia"
To view an area that you have previously created on the map, select it from the list on the left.