
Safari certificates
processes and requirements
To complete the process, we need a .p12 cert file to handle your push notifications with our systems, but we know that the process can be a bit confusing. Here is our step-by-step guide on how to get a .p12 file.
Requirements
You will need a few things before you start:
-
Accessing a Mac computer NOTE: This is a requirement of Apple
-
An Apple developer account. Apple Developer account
- You will need your email address and "name" for this process(e.g. "jo_smith@company.com", "Jo Smith").
- If you are not sure of your name, please log in to your Apple Developer account and use the name that appears in the upper right corner.
Process
Creating a p12 file can be a bit confusing the first time, as you need to use pieces of software that often go unnoticed on your computer, as well as the iOS developer web interface (which has improved in recent years).
We have divided the process into three steps, which should help you through the process:
1. Create a file ".certSigningRequest" (CSR)
-
Open Keychain Access on your Mac (search in applications / utilities).
-
In the main Access to the KeyChain window, make sure you do not have a private key already selected, otherwise this process will not work correctly.
-
From the toolbar, open the access to Keychain> Preferences.
-
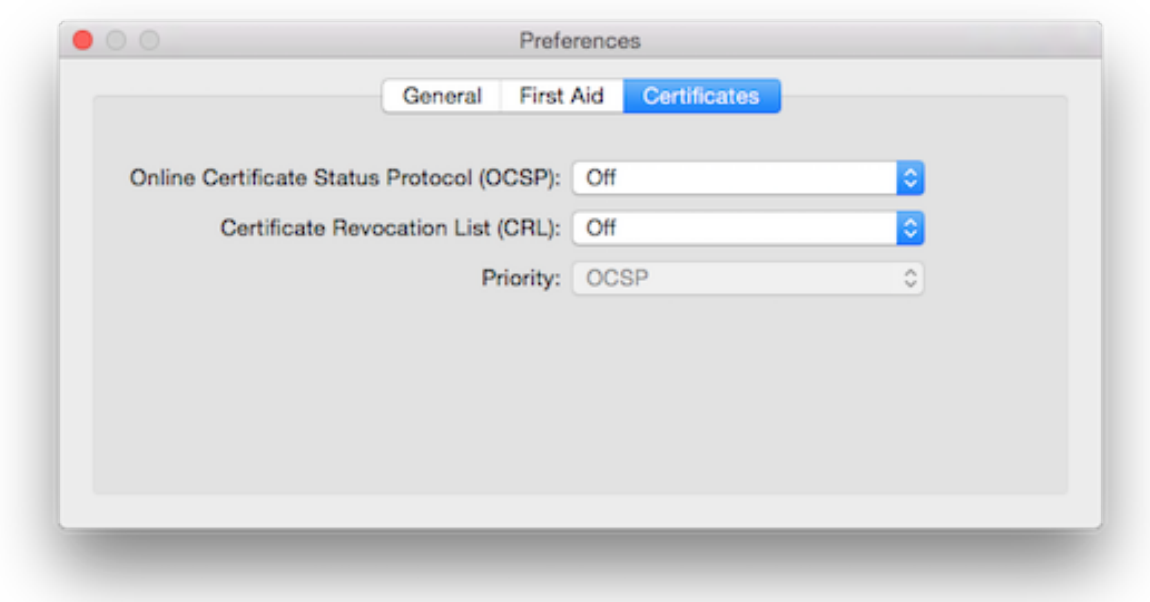
In the pop-up window that appears, click the Certificates tab.
-
Set "Certificate Status Online Protocol" and "Certificate Revocation List" to "Off" (as in the previous screen).
-
Close the window
-
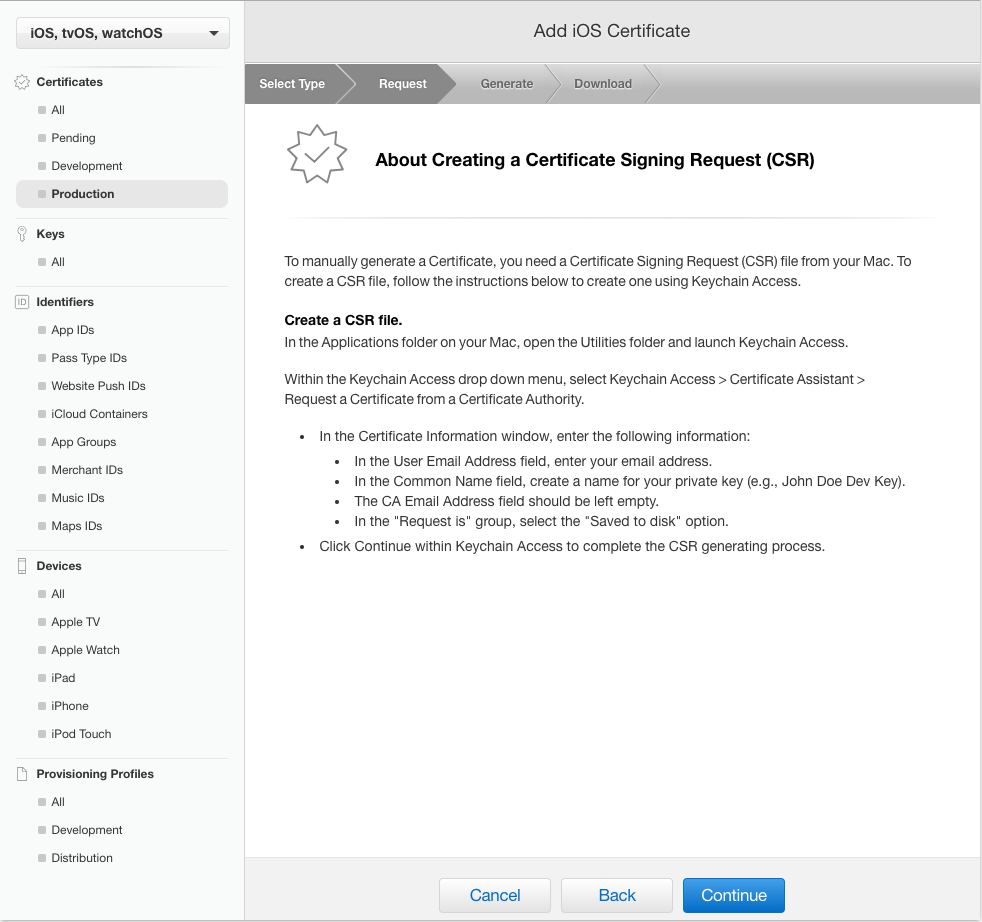
Go back to the toolbar, open Keychain Access> Certificate Wizard> Request a certificate from a certificate authority.

-
Enter the email address and common name that you used to sign up for the iOS Developer Program. NOTE: The name must be the developer's name as it appears in your Apple developer account
-
Leave the CA email blank, make sure "Saved to disk" is selected and "Allow me to specify key pair information" is checked.
-
Clic Continue
-
Choose a filename and destination on your hard drive (for example, "certificate.certSigningRequest").
-
Clic Save
-
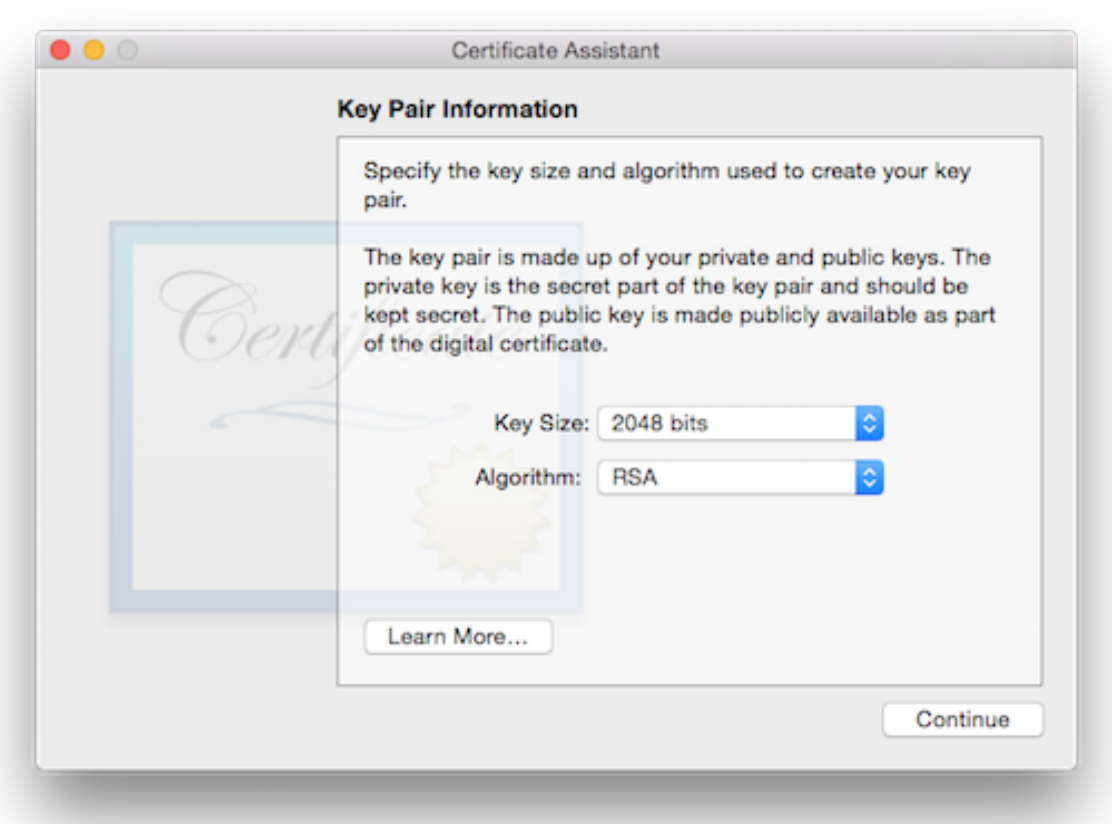
For "Algorithm" choose "RSA".
-
Clic continue
-
This will create and save your certSigningRequest (CSR) file to your hard drive. A public and private key will also be created in the Access to Keychain with the name you previously entered(e.g. Jo Smith).
2. Create the ".cer" file in your Apple developer account
- Login to https://developer.apple.com.
- Click "Certificates, identifiers and profiles".
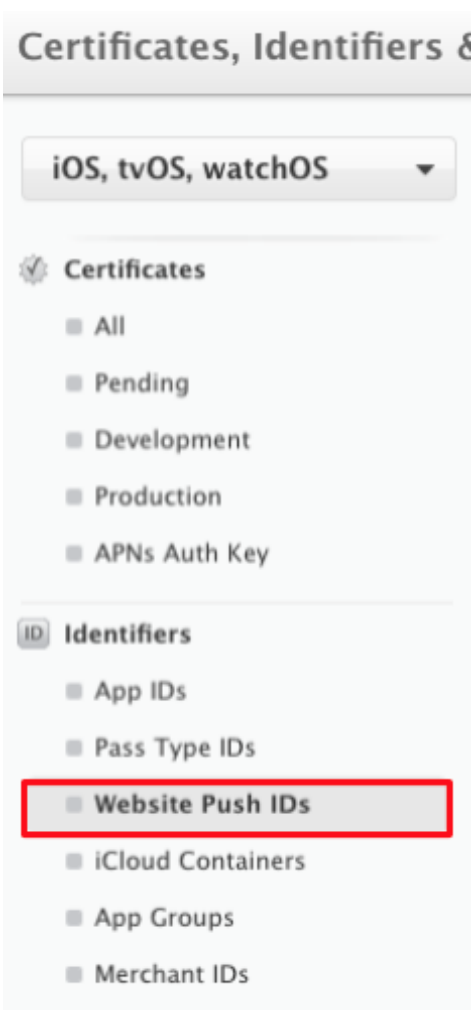
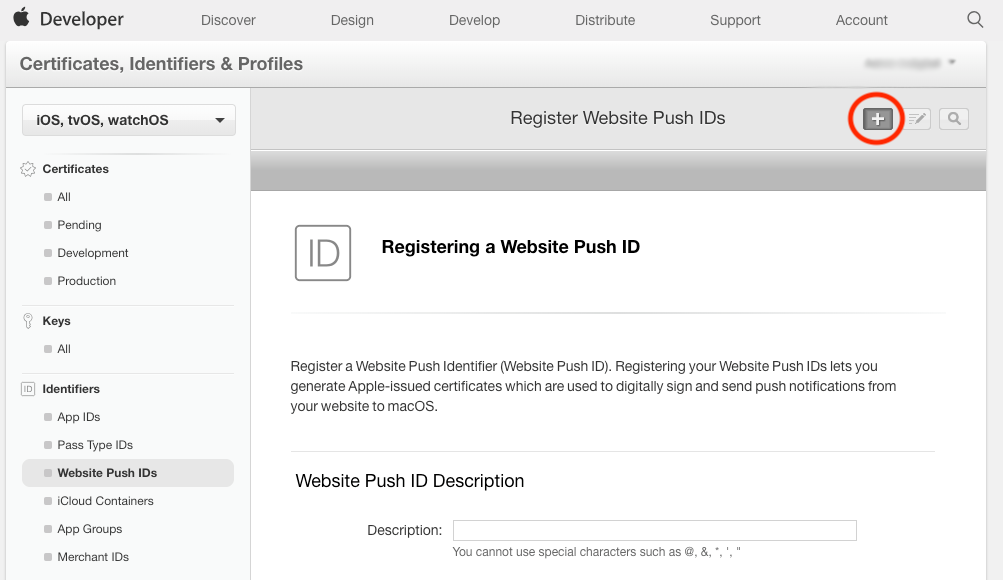
- In the "Identifiers" section on the left panel, click on "Website Push IDs"
- Click the "Add" button (+) in the upper right corner of the main panel
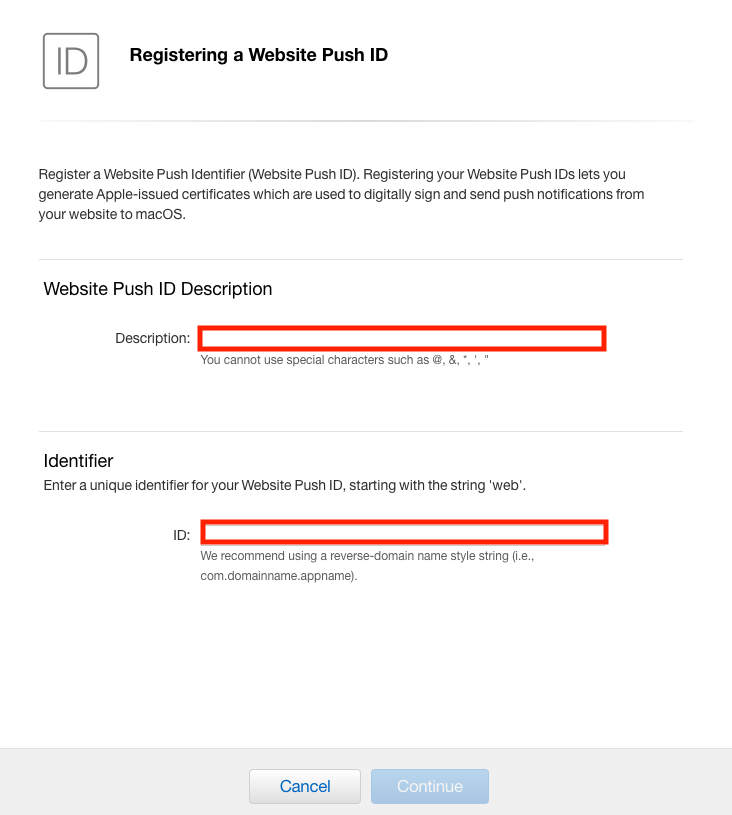
- Enter a description for your Website Push ID, an ID (for example, com.domainname.appname) and click Continue
- Click Sign Up
- Click Done
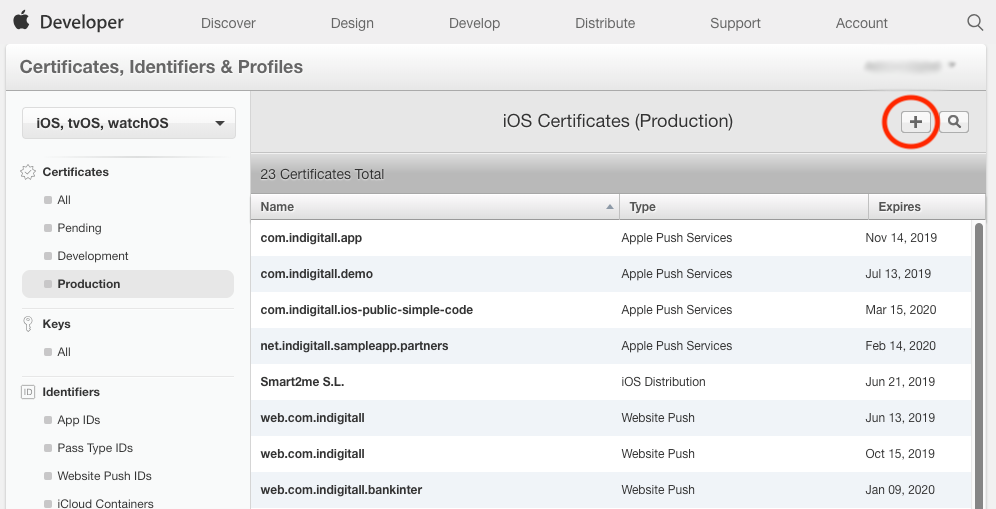
- In the "Certificates" section at the top of the left pane, click "Production"
- Click the "Add" button (+) in the upper right corner of the main panel
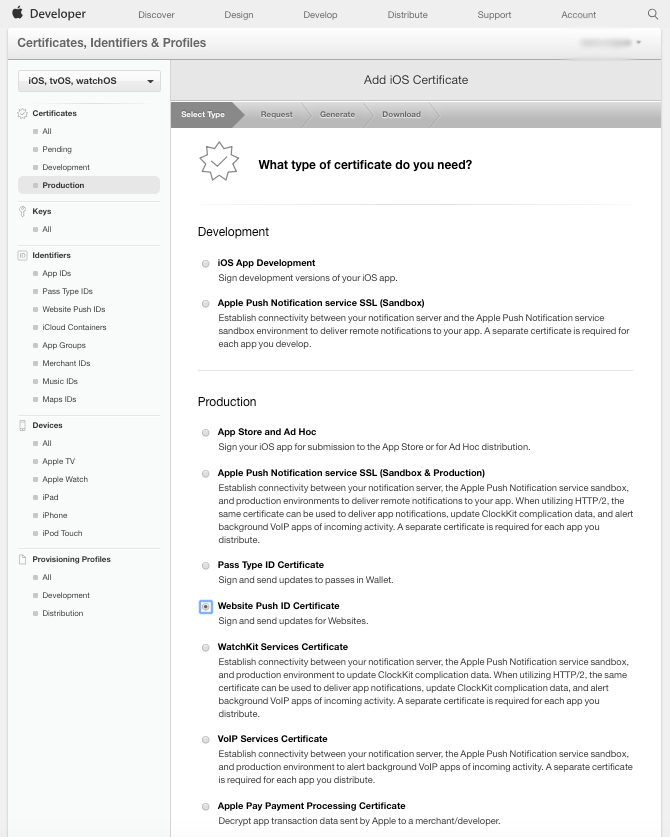
- In the main panel, under Production, choose "Website Push ID Certificate" and click Continue
- Select your Website Push ID and click Continue

- Click Continue
- Click "Choose File" and browse for the CSR file you just created from your hard drive

- Click Continue and wait for the file to be processed
- Click Download to get the file, and then click the Done button once the download is complete
3. Install .cer and generate .p12
- Find the .cer file you just downloaded and double-click on it. If the certificate was not installed automatically, you will see the following window (otherwise skip the next two steps):
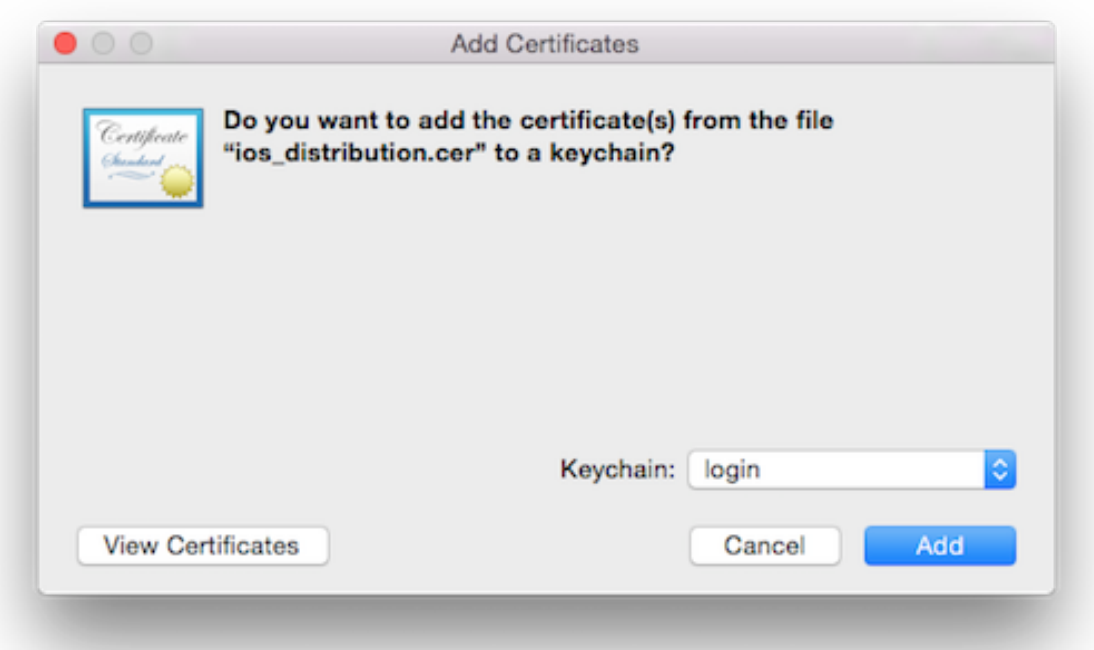
- Make sure the drop down menu is set to "login"
- Click Add Open KeyChain Access again
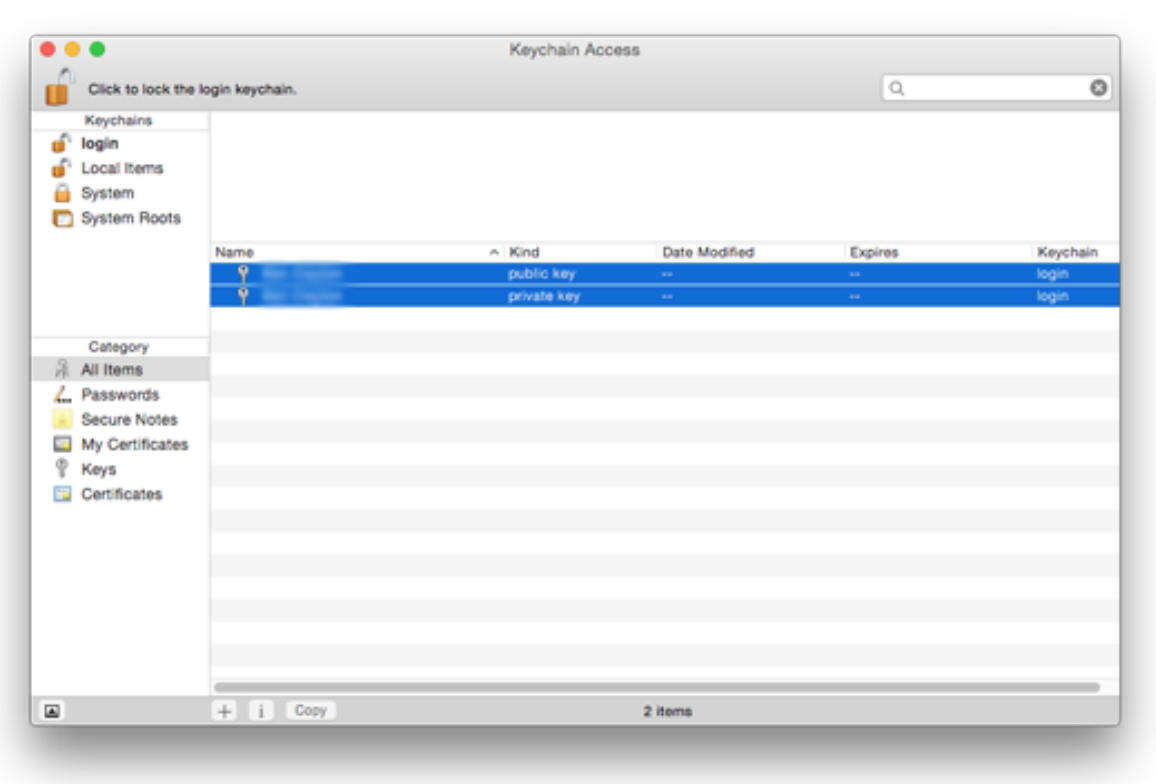
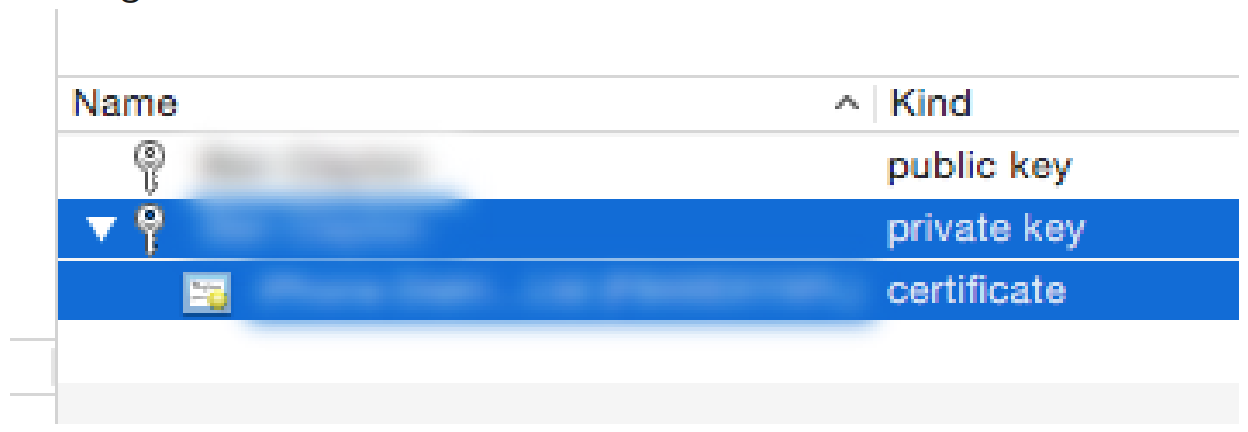
- Find the two profiles you created in Step 1
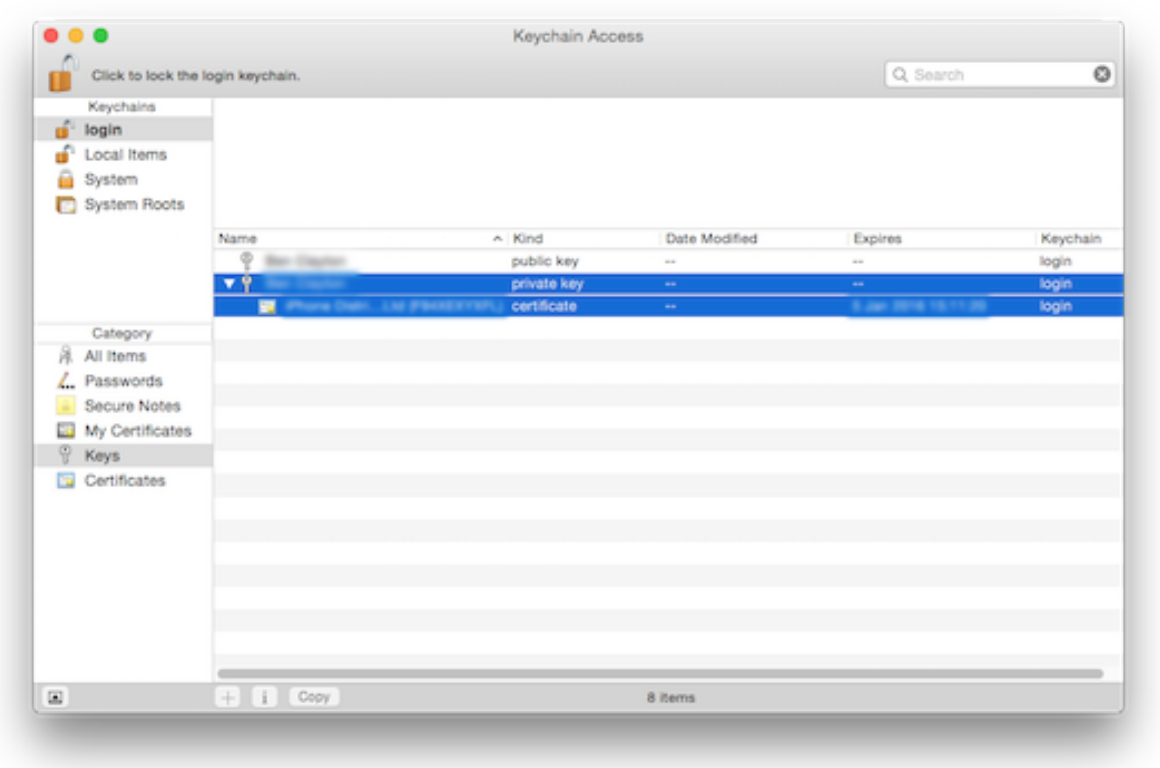
- Now you should be able to expand the profile of the "private key" profile which should show the certificate you just added
- Select only these two items (not the public key), by holding the SHIFT key and clicking both items
- Right click and click "Export 2 items ..." from the pop-up window
- In the next window, make sure the file format is ".p12" and choose a filename and destination on your hard drive
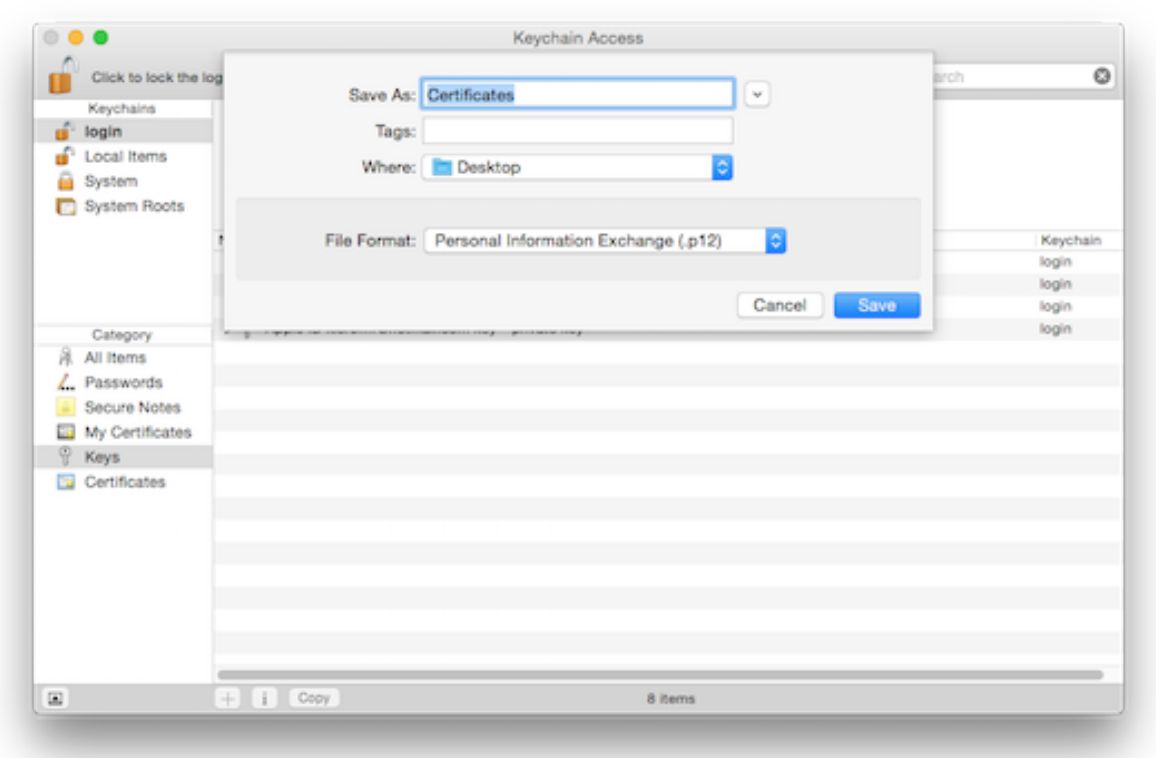
- Click save
- Finally, you will be asked to set a password, but both input boxes should be left blank
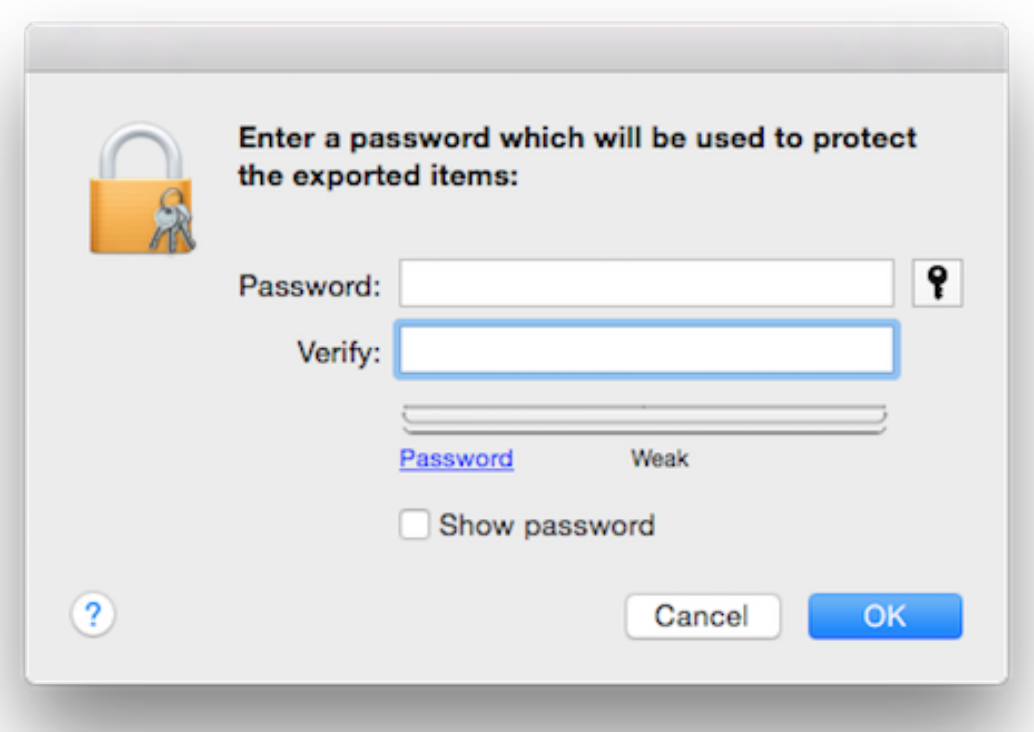
- Click ok NOTE: You may be asked for the computer administrator password at this stage (possibly twice as there are two files to export). In that case, enter the password and click OK
- You should now find a .p12 file available in your chosen location on your hard drive.
Resources
[Projectslatformmanual/configuration/projects.html)