
Integration Tag Manager (GTM)
web push notifications
Estimated integration time: 10 minutes.
If you use Wordpress, visit our specific guide here.
If you want to implement through your website, then use this guide.
To integrate our web push notifications tool on your page you need:
-
an indigitall account
-
access to your Google Tag Manager account (GTM)
Once you are logged into your GTM account, click on Add new tag .
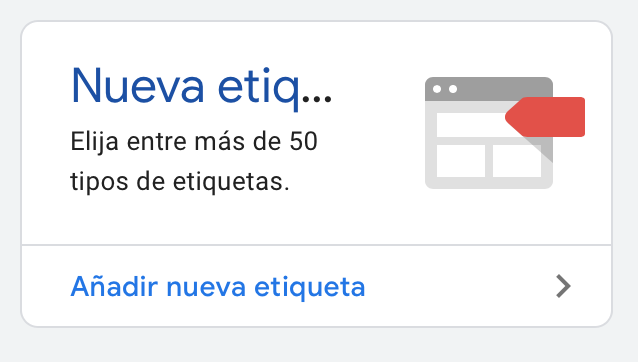
Choose a title (eg indigitall) and hit the pencil icon under Tag Settings .
On the next screen, under Custom , you must choose Custom HTML . Now paste the following code snippet:
Important: the appKey value is unique and personal. You can get it by accessing your account> settings> App Key value
<script>
  (function () {
    var el = document.createElement('script');
    el.src = '/sdk.min.js';
    el.async = 'true';
    el.addEventListener('load', function () {
      indigitall.init({
        appKey: 'yourPersonalAppKey',
        workerPath: '/worker.min.js'
      });
    });
    document.head.appendChild(el);
  })();
</script>
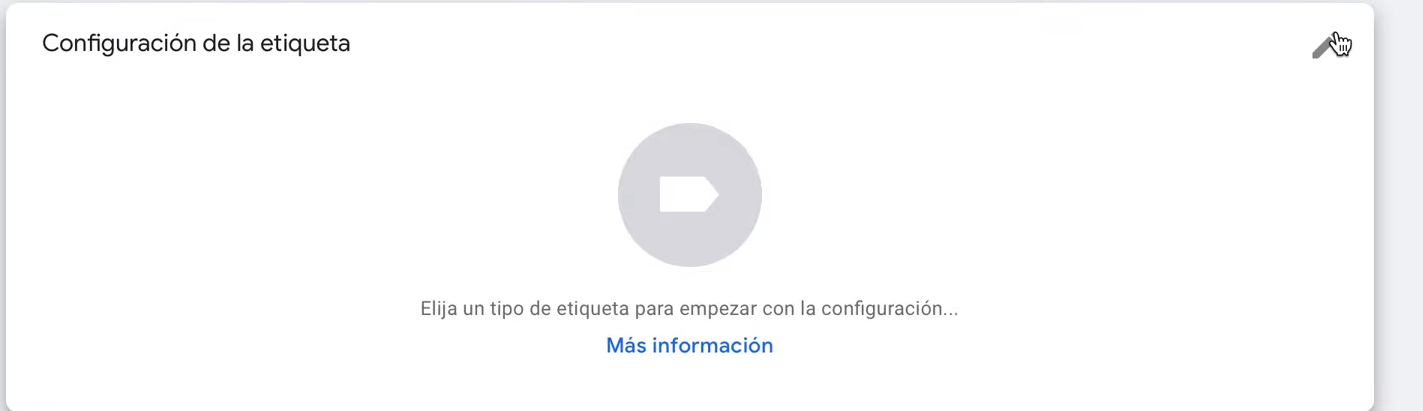
Scrolling down, you will see the term: activation and the icon of a pencil that you will have to click:
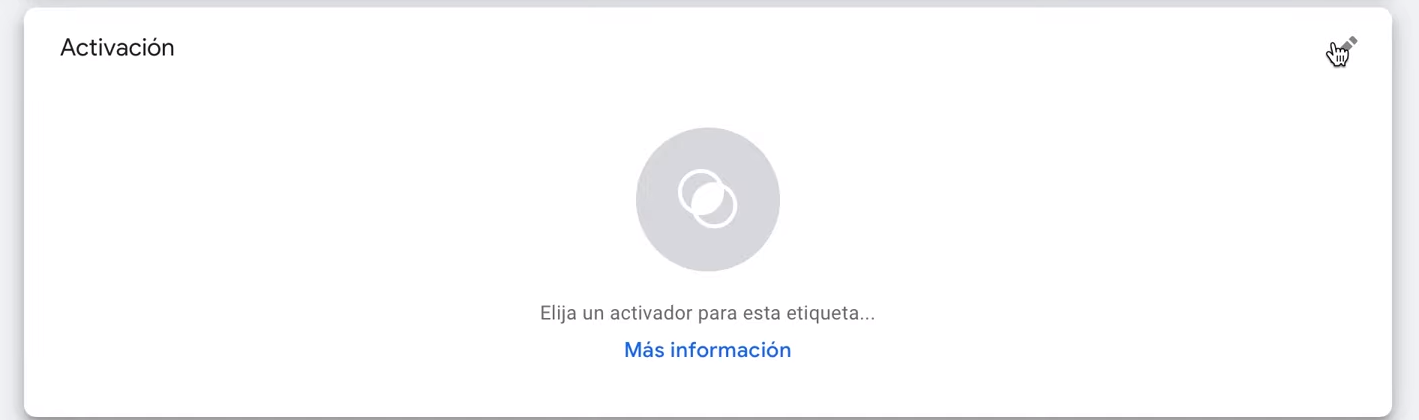
In Choose an activator select All Pages and press add
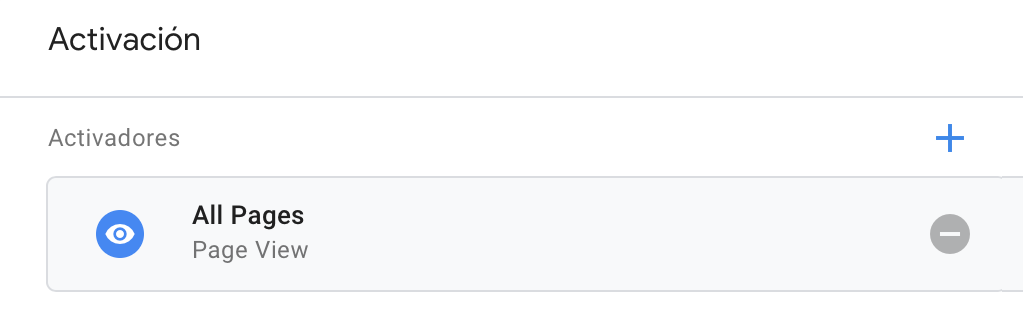
Click on the Save button.
How to upload files to your server or access them?
You can do it through FTP or from your server's control panel (cPanel, directAdmin, etc) among other ways. Below you will find an explanatory video of the process. In less than 10 minutes, you should have it.
You can ask your hosting provider or your trusted programmer for help by sending these instructions.
Check the integration
If everything went well, when you access your website again, you should see a message in your browser to allow notifications. Example:
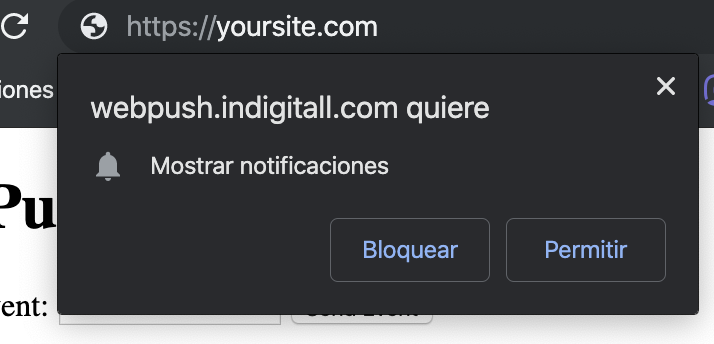
Click Allow .
Then open the developer console (hit F12) and go to Console, you should see something like this:
[IND] Client:  Method: PUT
URL: https://device-api.indigitall.com/v1/device?appKey=(yourAppKey)&deviceId=xxxxxxxx-xxxx-xxxx-xxxx-xxxxxxxxxxxx
Request Body: {
  [...]
  "pushToken": "https://fcm.googleapis.com/fcm/send/xxxx",s
  "browserPublicKey": "xxxxxxxxxxxxxxxxxxxxxxxxxxxxxxxxxxxx",
  "browserPrivateKey": "xxxxxxxxxxxx"
}
Response Code: 200
Response Message: OK
Response Body: {
  "deviceId": "xxxxxxxx-xxxx-xxxx-xxxx-xxxxxxxxxxxx",
  "enabled": true,
  "platform": "webpush"
}
Note that Response Code has the value 200 .
If everything is correct, congratulations, you just need to create and send your first campaign!
How to create Web Push Notification Campaign?
Campaigns are managed from the control panel (console) of your indigitall account:
Access your console
Resources
User guide: create campaigns, edit and more.
Wordpress Plugin integration guide